Objective
This lab is all about arrays and covers topics that are in Ch. 7 of your textbook. By the end of this lab, you will be able to:
- Initialize arrays using a loop.
- Process array contents.
- Print contents of an array. (Ch. 7.6 - Processing Array Contents)
- Use arrays as function arguments. (Ch. 7.8 - Arrays as Function Arguments)
Write your programs in your 2010/7/ on Odin. You will write a single program that does all of the functions below. Name that program lab7.cpp.
Main() Function
-
Create an integer array with a size of 20.
-
Your array may contain some "garbage" values, so we want to reset all array elements to 0. Create your reset() function, as described below. Call the reset() function after creating your integer array to reset the array values to 0.
-
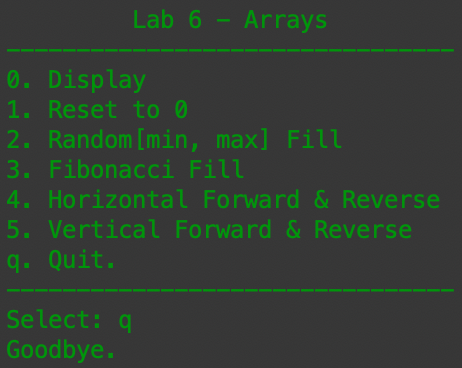
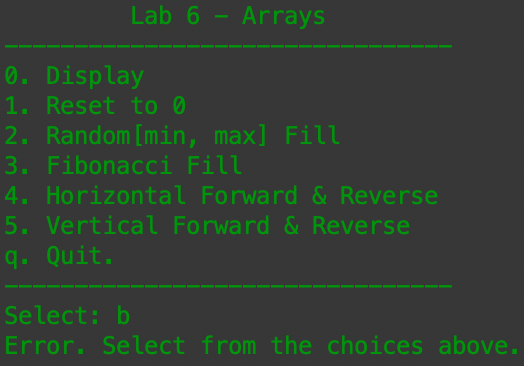
Create a menu using a do-while loop and a switch case (Ch. 4.14 - The Switch Statement). The valid cases are characters 0-4 & q. Let 'q' be the case option for ending the program. If the user input is not valid, the default case should output an error message. Your do-while loop will end only when the user decides to quit.
Fill your array.
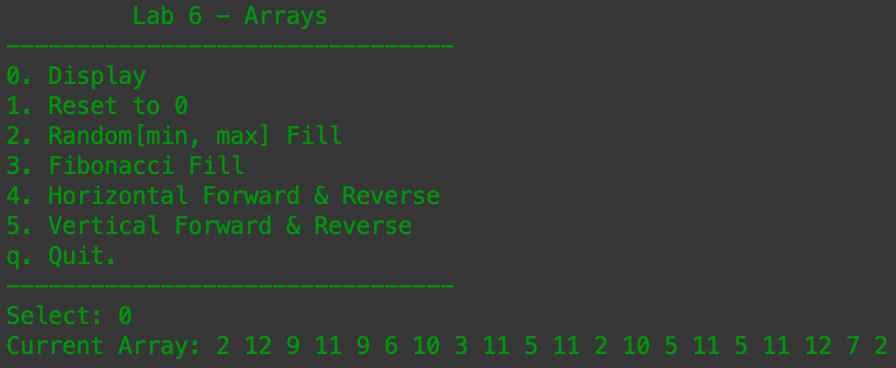
0. Display() function
If option '0' is selected, it will call the display() function that you created. Create a function that displays all elements in the array. You could call this function whenever you want to display the elements of an array. The main() and display() functions will be the only functions printing anything to the screen.
Function prototype: void display(int arr[], int size)
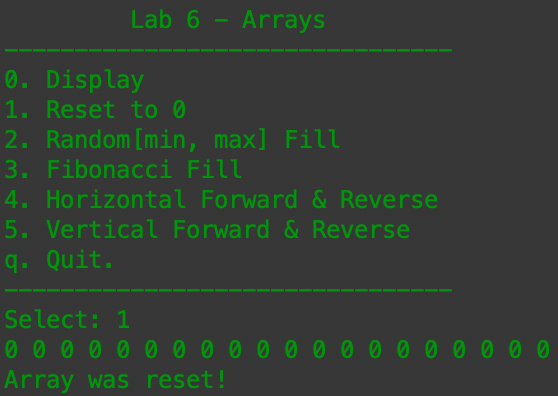
1. Reset() function
If option '1' is selected, the array will reset to 0 (call your reset() function) and display the elements in the array (call your display() function). Create a reset() function that sets all elements of your array to 0. (Hint: Use a for-loop.)
Function prototype: void reset(int arr[], int size)
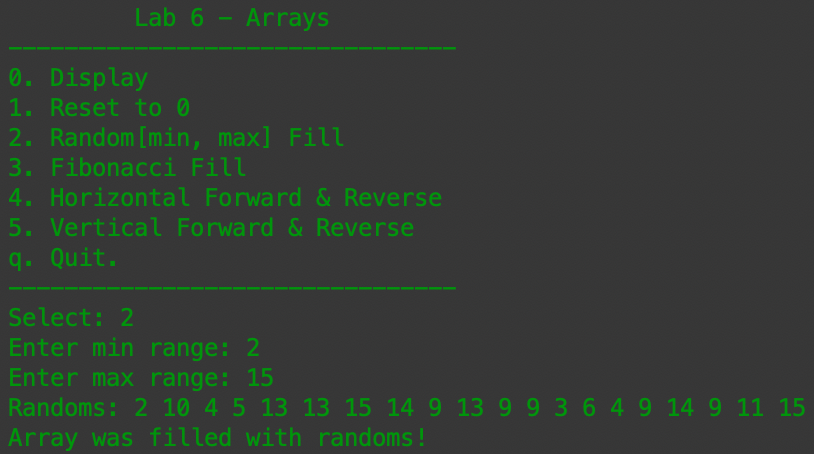
2. Random Fill
If option '2' is selected, the array will be filled with random variables within the minimum and maximum range that the user specifies and you will display the elements in the array. You must prompt the user what is their preferred minimum and maximum range. Create a function, called random(), that sets all elements of your array to some random number within a certain range. In this function, you will be doing all of the operations and calculations necessary to fill your array with random numbers that are within the user's range.
Reminder: This is the format for the rand() function: rand % (range) + min
Function prototype: void random(int arr[], int size, int min, int max)
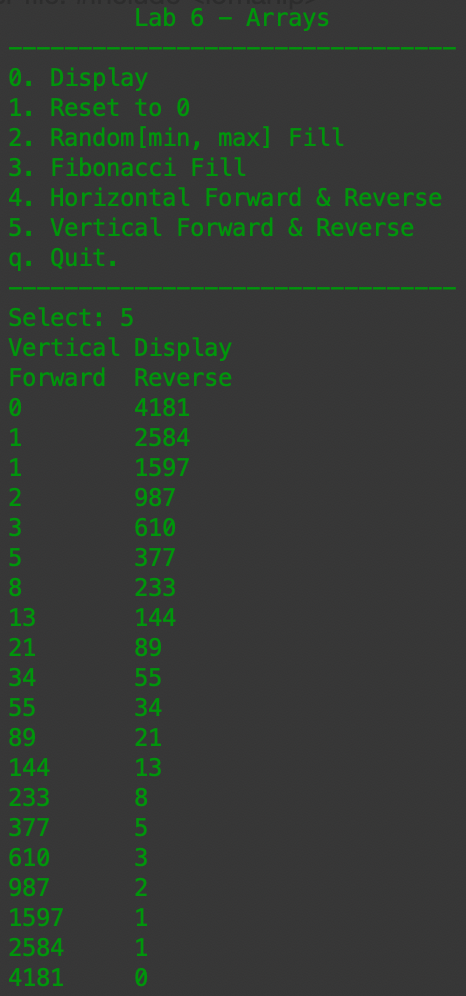
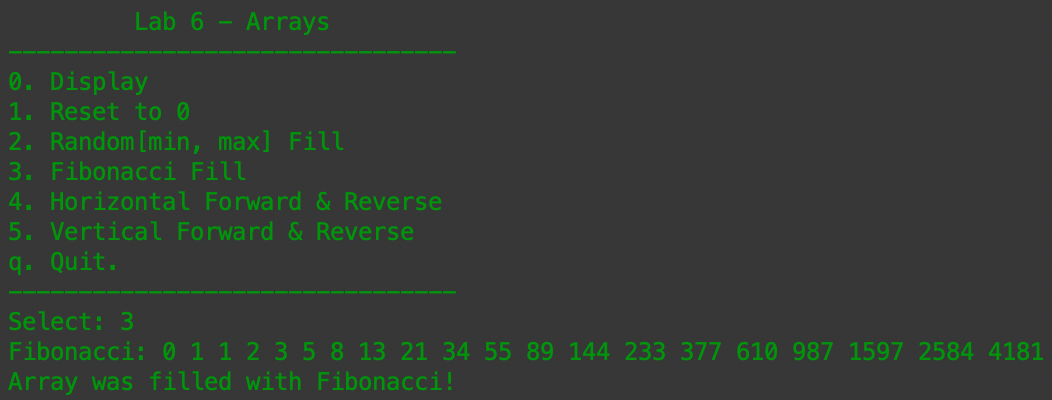
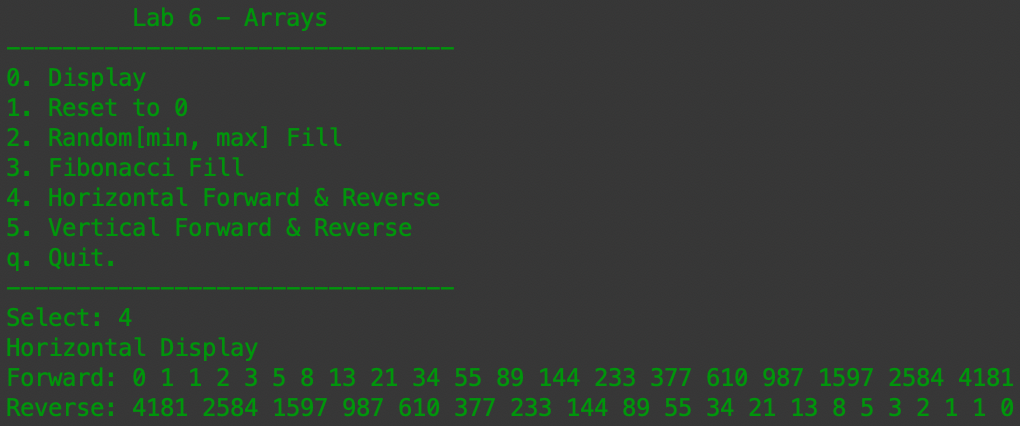
3. Fibonacci Fill
If option '3' is selected, the array will be filled with the first 20 fibonacci numbers. Create a function that fills your array with the fibonacci sequence.
Function prototype: void fibonacci(int arr[], int size)
Process through your array.
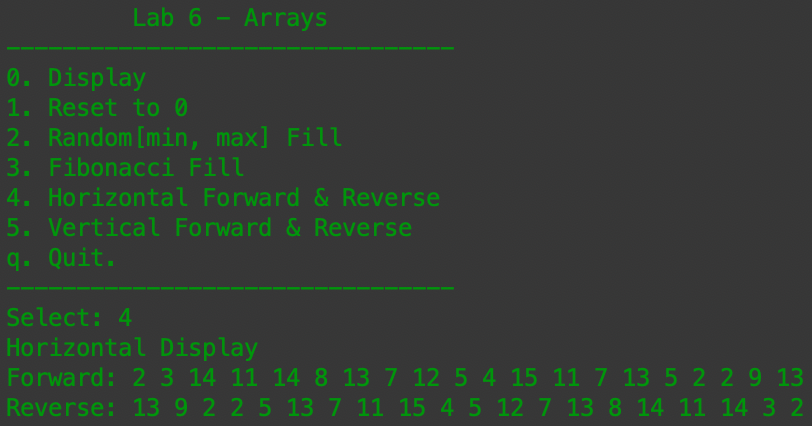
4. Horizontal Forward & Backward
If option '4' is selected, you must display your array forward and backward horizontally.
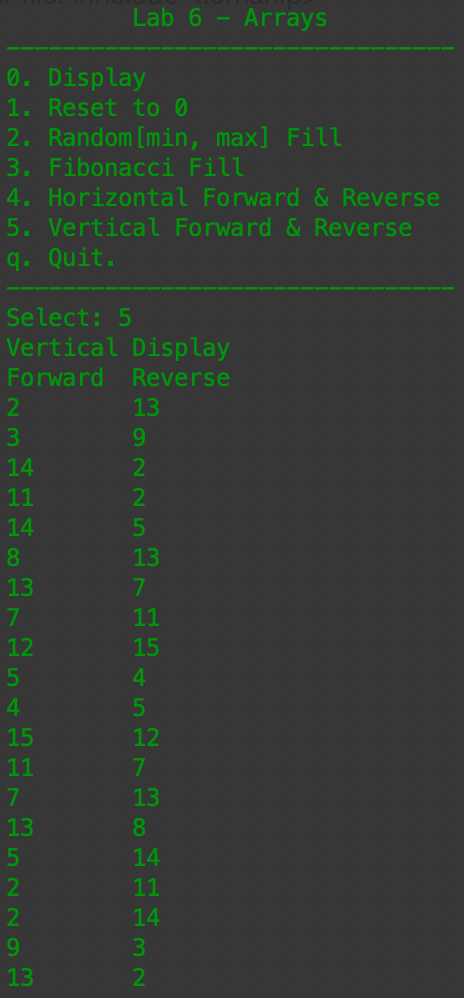
5. Vertical Forward & Backward
If option '5' is selected, you must display your array forward and backward vertically.
Recall from Lab 4: You may use the setw() function to align your data. Add the header file: #include <iomanip>
- Examples:
- cout << set(4) << val;
- cout << left << set(4) << val;
- cout << right << set(4) << val;